We are back with Part 3 of Tucked In Cottage on Bunker Hill! In this blog we will be taking a look at the bathrooms.
For those of you who are new or anyone who missed the previous blogs on this project, you can follow these links to check out Part 1 and Part 2!
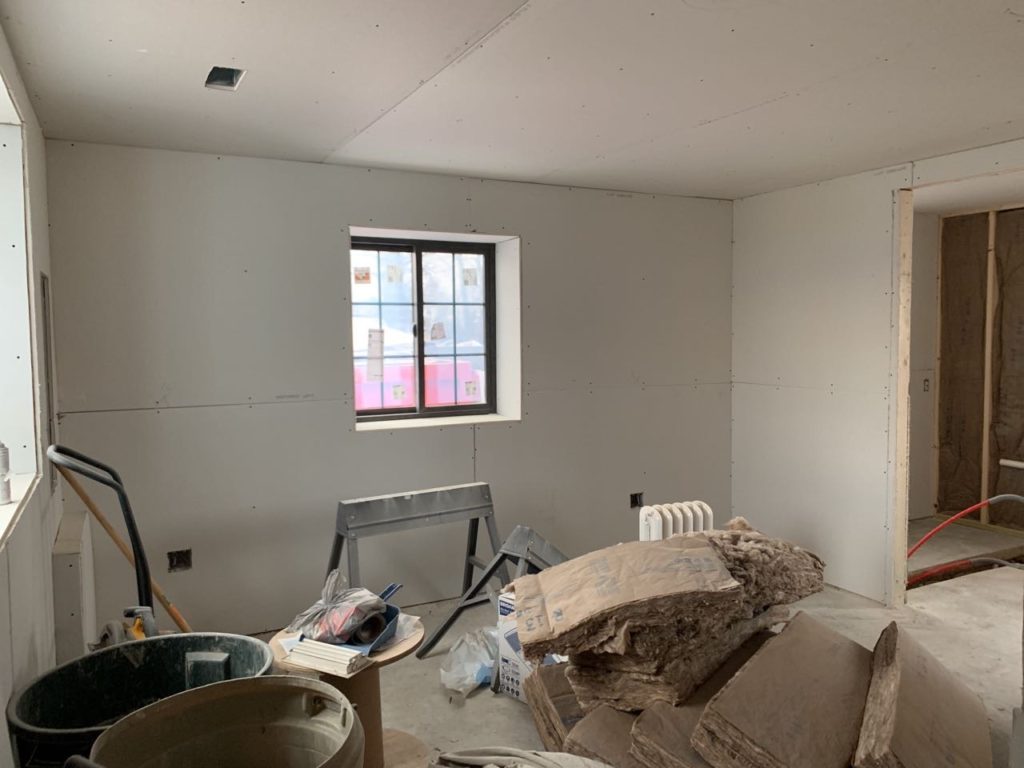
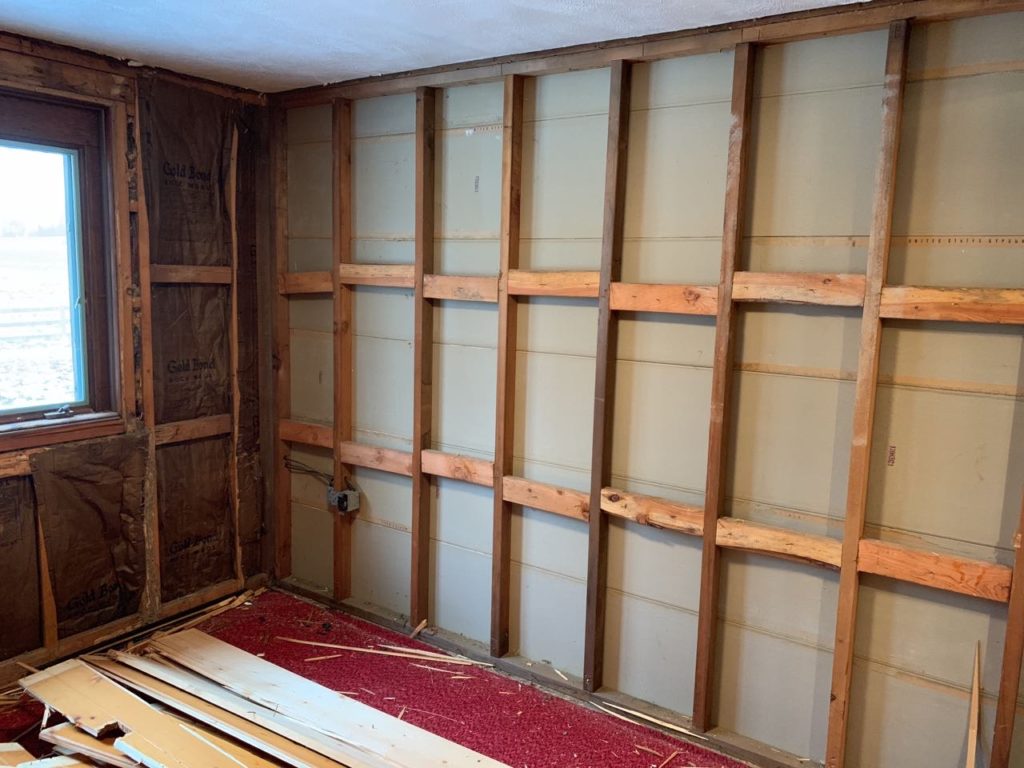
Before we dive into Part 3 here is a little recap of what this project is. This is Kyle and my’s personal home. We purchased this house knowing it was going to be a fixer-upper. With that being known, we also knew that it was going to be a risk and that we would potentially run into more problems and issues than we originally thought. We ended up tearing down most of the house and basically starting from scratch, but still kept the main footprint. It is a small space so we tried doing everything we could to make it seem open and bigger than it actually is.
As you are reading this blog series I want you to keep in mind that this is our personal home. Our budget is not the same as our clients, so I am sharing a few ways we choose to cut and or save on budget!
I hope you enjoy Part 3 of Tucked In Cottage on Bunker Hill!
Floor Plans

In the original layout of this home there was only one full bathroom and a half bath. The original half bath we turned into our master bath. As we talked about in Part 2 the main bath use to be right off the kitchen. We completely took that bathroom out and made it into what is now our pantry. We then added two bathrooms on that side of the house and they function as a half bath/powder room and the kids bathroom. I have numbered the bathrooms above to help you visualize which space we are talking about.
1. master bathroom 2. the kids bathroom 3. the half bath / powder room
Master Bathroom

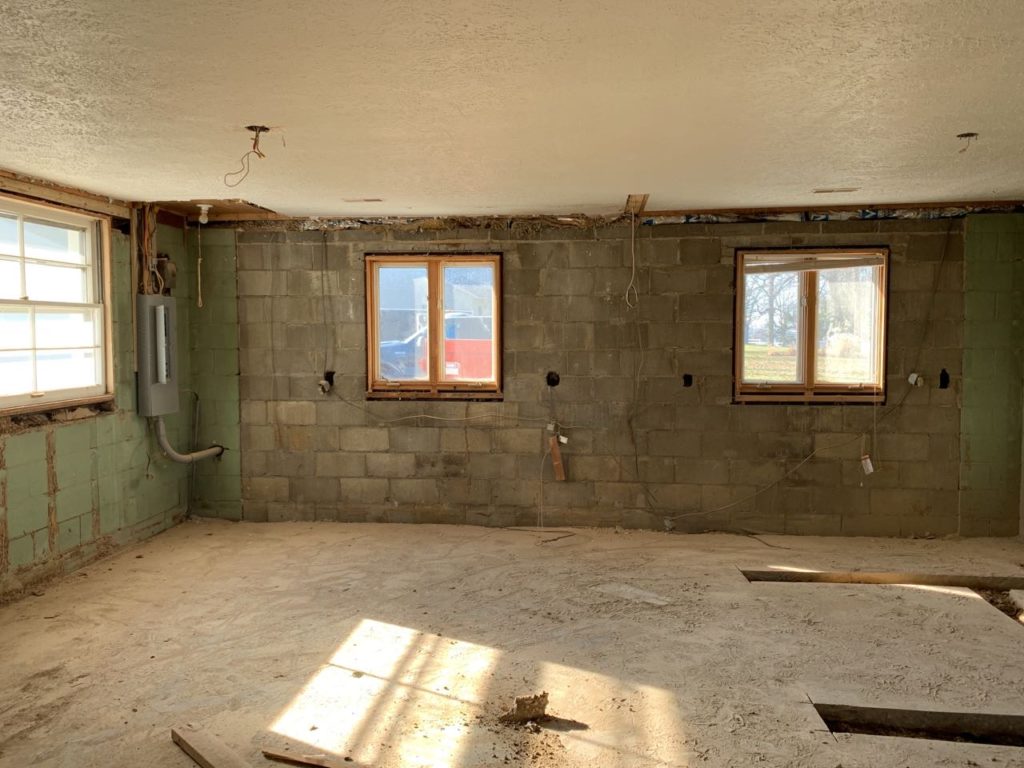
What is now the master suite use to function as a sewing room and main living area for the previous owners. Once we started demo and tearing everything out we soon realized this actually was the original garage for the home. At one point in time it was changed to create another room in the house. In that room a half bath was added creating 1 of the 2 bathrooms in the whole home.
As you have heard me say in previous blogs, this house is small. With that being the case we did everything we could to utilize every square foot of this house. We needed to make it seem as large as we could, while also making it function better for a family.
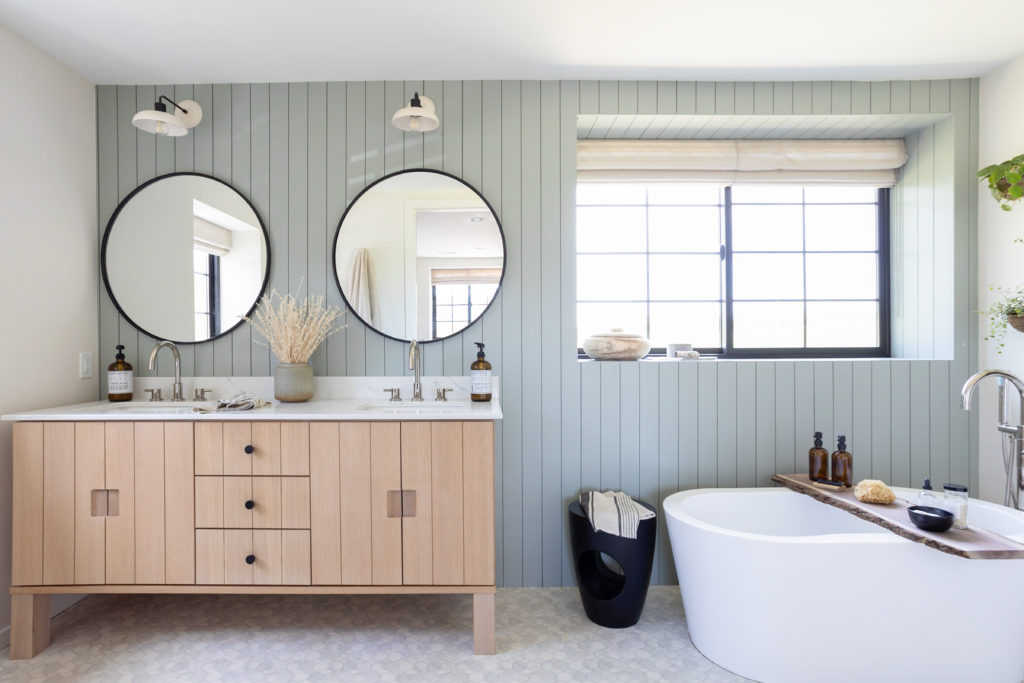
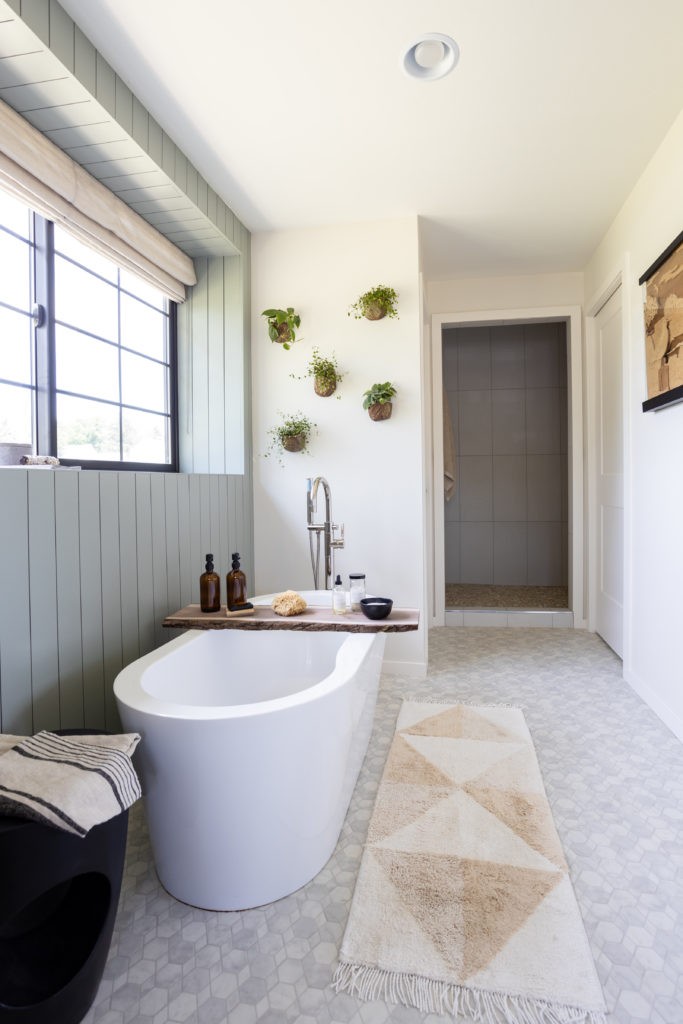
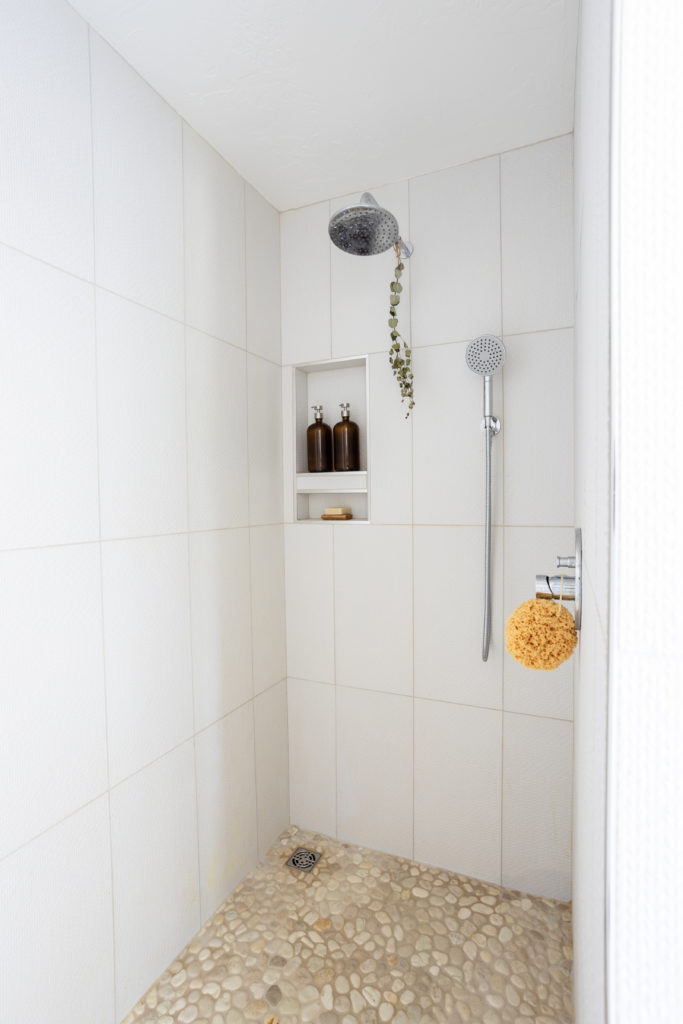
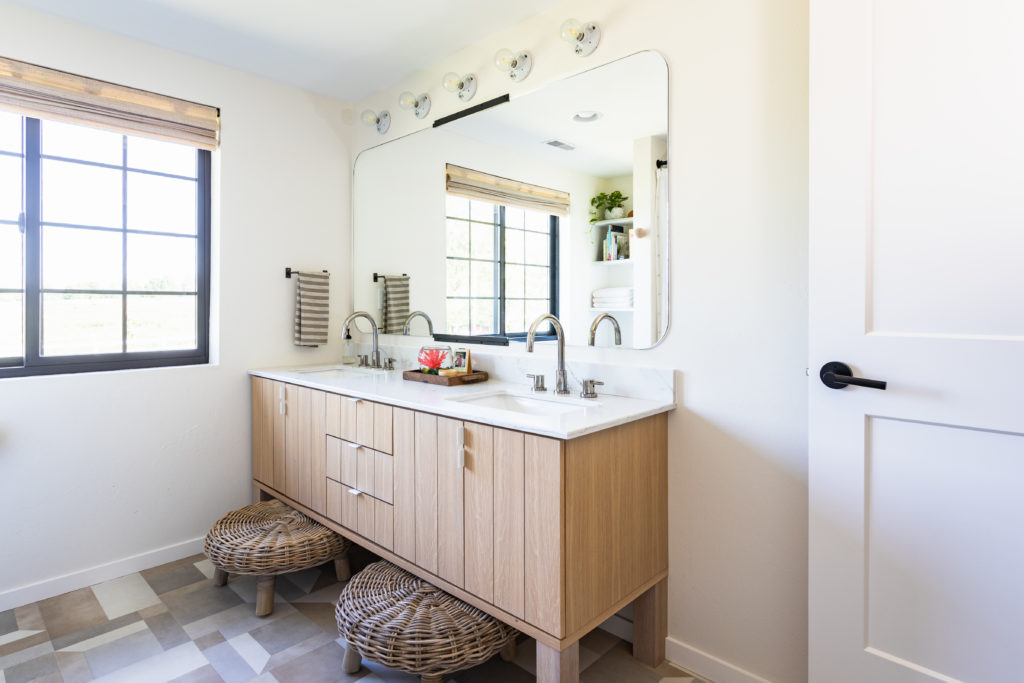
We decided to turn this whole area into the master suite. This space was cut down and created into three different rooms; a smaller bedroom, a larger a space for the bathroom, and a walk-in closet. We needed the bathroom to function as a full bath with a double sink vanity, freestanding tub, walk in shower, and a toilet room.
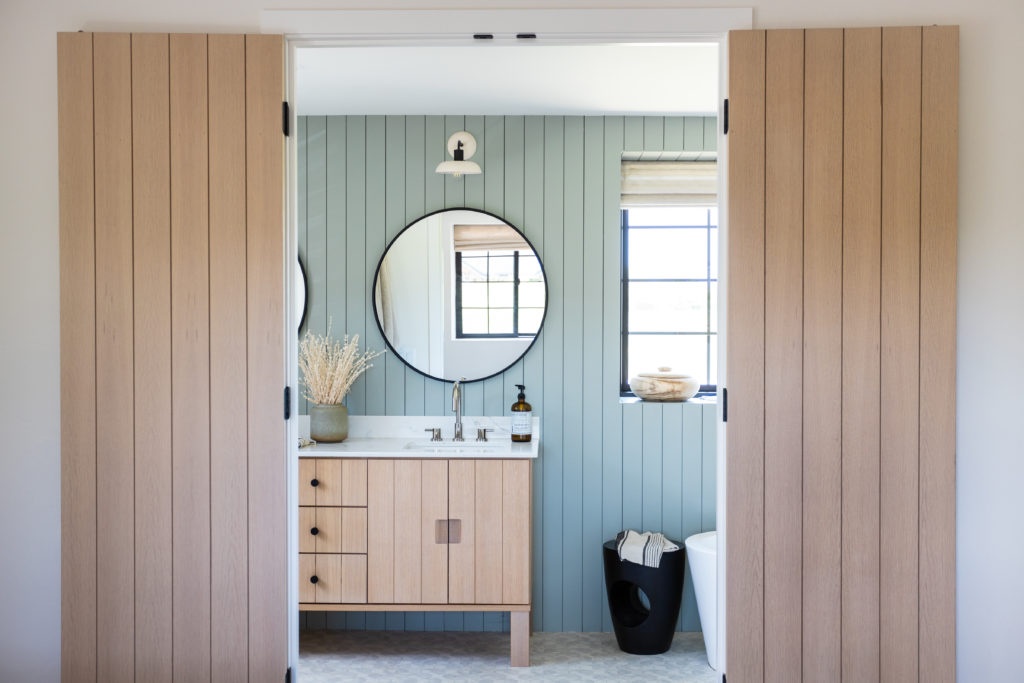
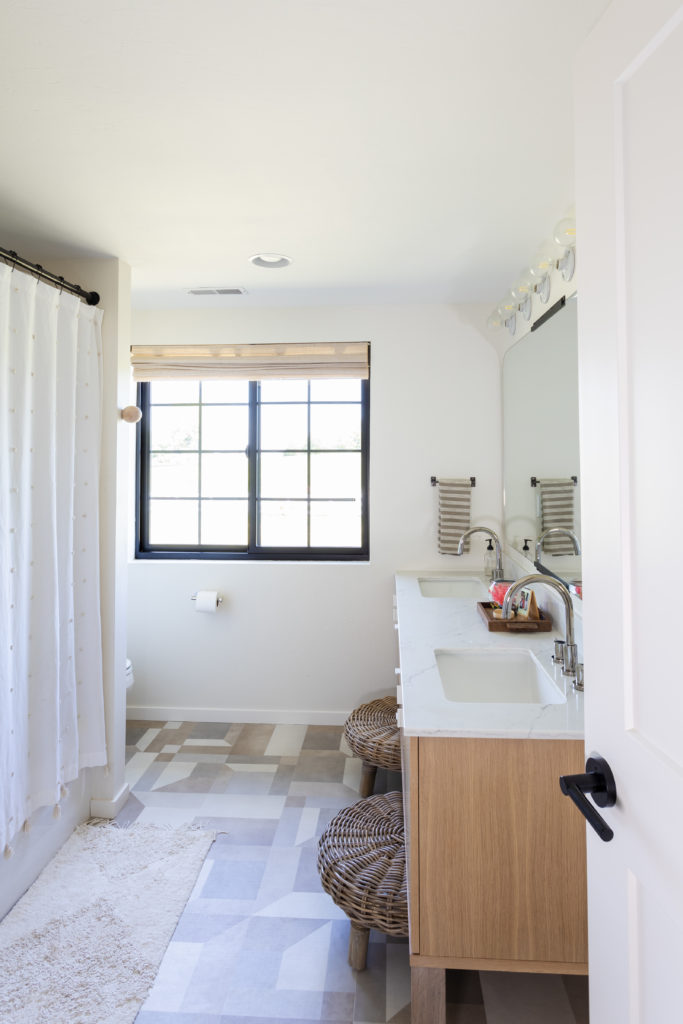
If you have read the other blogs, you know I have been using white oak accents throughout the whole house. This bathroom is no different. Leading into the bathroom are tall custom white oak doors that pair perfectly with our custom oak vanity. For the vanity area, I went with a double sink vanity, which I believe is needed in any master bath. Sharing just one sink with your husband can be tough, am I right ladies? Instead of using one large mirror I went with two black large round mirrors. These were chosen to match the black hardware and other black accents throughout the house. I placed two cream clay sconces above each of mirror that match with the cream wall color. Our quartz countertop has cooler undertones that pair well with the flooring.
Our floor in this bathroom, and the kids, is sheet vinyl. This is a very cleanable product at a great price point as opposed to tile. I love a good tile bathroom floor, but like I mentioned, our budget is not the same as our clients. This is a great way to save money without sacrificing aesthetics.
We have a wood slat accent wall that is painted Light Drizzle by PPG to help create some visual interest. As you look through the pictures of our home you will see that the master bath is the only room that we used a paint color on the wall that was not a warm white! I am a fan of neutrals, but I stretched for some color here and am so glad I did! I love this color. If you follow us on Instagram you know that it is still unsettled if this is actually blue or green. I see green:) What color do you see?
I wanted it to be light, bright and fresh so I love including large windows in a master bathroom. We made the window above the freestanding tub quite a bit wider. This was necessary for the outside front facade as that part of the house needed a more visually demanding window. More on that when we talk through the exterior design. This was not the easiest thing to do as it was a garage before and we had to cut through the block wall. Kyle hates when I ask him to do this but him and our subs made it happen ! Thanks guys!
You will notice all the plumbing fixtures in my house are chrome. I love the look even though this finish shows finger prints. I like mixing metals. All black hardware choices can start to feel very “farmhouse” and trendy. I like a more timeless approach to our designs.
Product Links
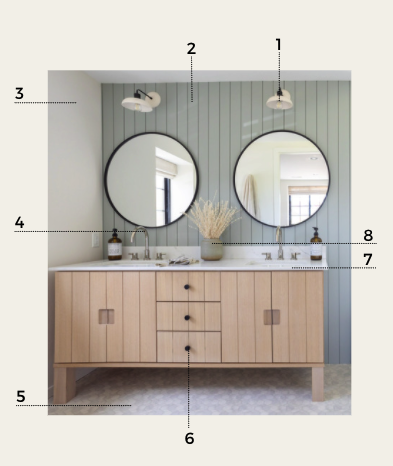
1.Lights 2. Wall Color:Light Drizzle PPG1033-4 3. Wall Color: Off White PPG 1024-1 4. Faucets 5. Flooring
6. Hardware (no longer available-similar item) 7. Countertop 8. Pot
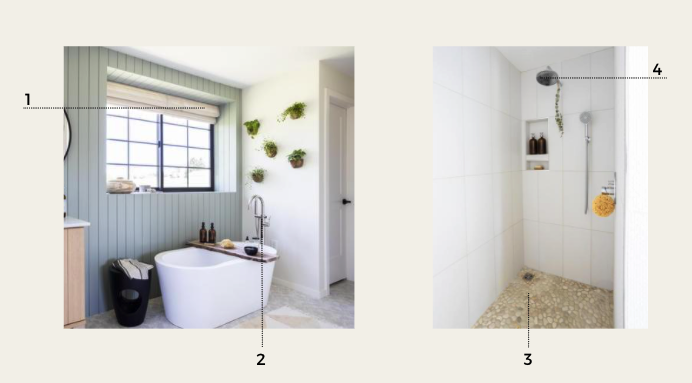
1.Curtain (custom made) 2. Tub Filler 3. Shower Floor 4. Shower Head
Kids Bathroom

Labeled as number 2 on the layout is the kids bathroom. This use to function as a bedroom. We did not need the extra bedroom, but what we did need was another bathroom!
Because it was going to be our kids bathroom I wanted it to be fun and energetic, but I also needed to create a timeless look so that they didn’t grow out of it too fast. To do this we decided to go with a fun flooring! Like i mentioned before, this is a sheet vinyl. I LOVE how easy this is to clean.
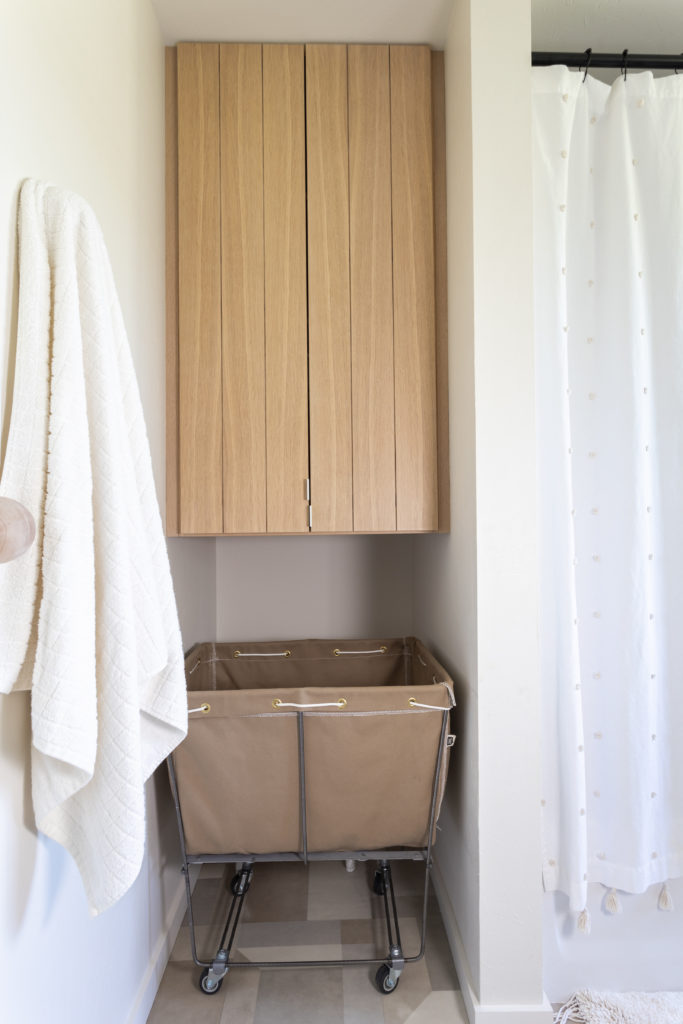
For the cabinetry, there is no surprise here! We went with a custom white oak vanity to match the rest of our home. Since this is for our kids, I made the hight a little lower at 30″ and love the intentional leg design so the stools for the kids to stand on can easily slide under the vanity. Because this was going to function as a bathroom for my sons and daughter I wanted to keep the coloring neutral. To help accomplish that I went with the soft texture in a shower curtain and rug that didn’t pull towards either gender. Lastly, to keep integrating a fun look for the kids I went with a round towel hooks that feel more playful.
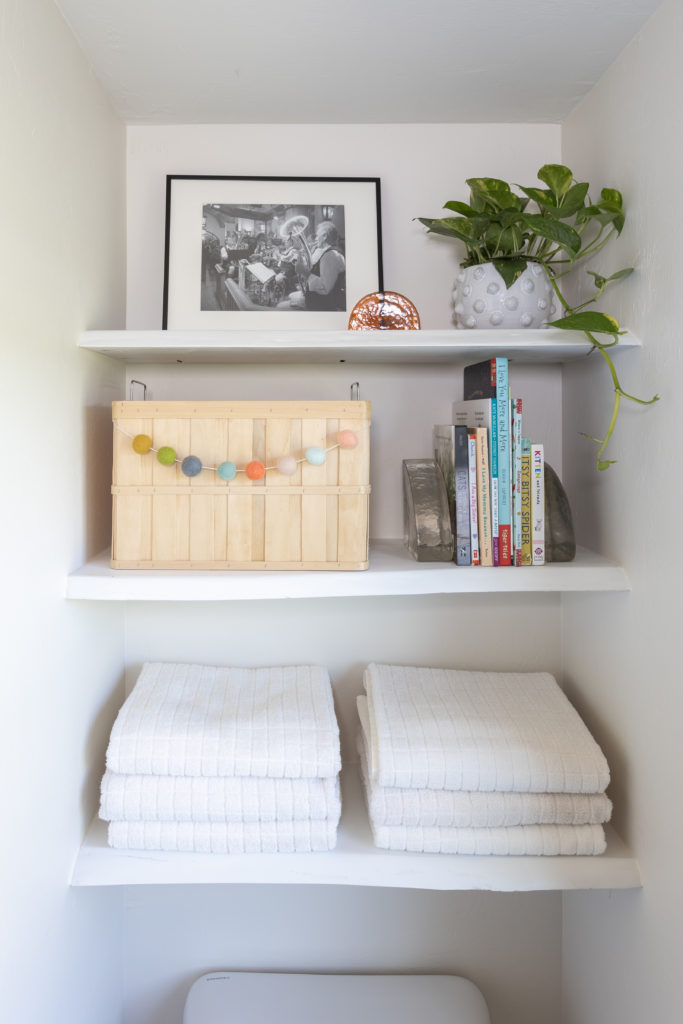
To create storage in this bathroom we put a wall cabinet next to the shower. Under this cabinet we have placed a rolling cart for the kids laundry. As you saw in the first blog of this series, I love these laundry carts! They hide the mess of dirty laundry and make it easy to just roll into the laundry room. I wanted more fun and storage for this room so I put shelving above the toilet to decorate.
Product Links
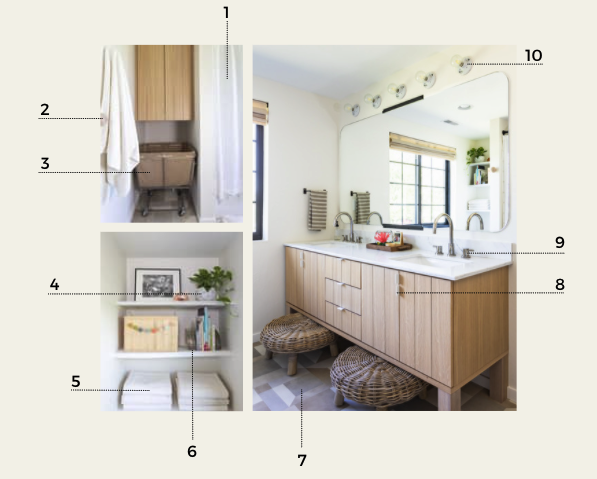
1.Shower Curtain 2. Towel Hooks 3. Laundry Basket 4. Pot 5. Towels 6. Bookends
7. Flooring (discontinued-similar item) 8. Hardware 9. Faucets 10. Lights
Half Bath
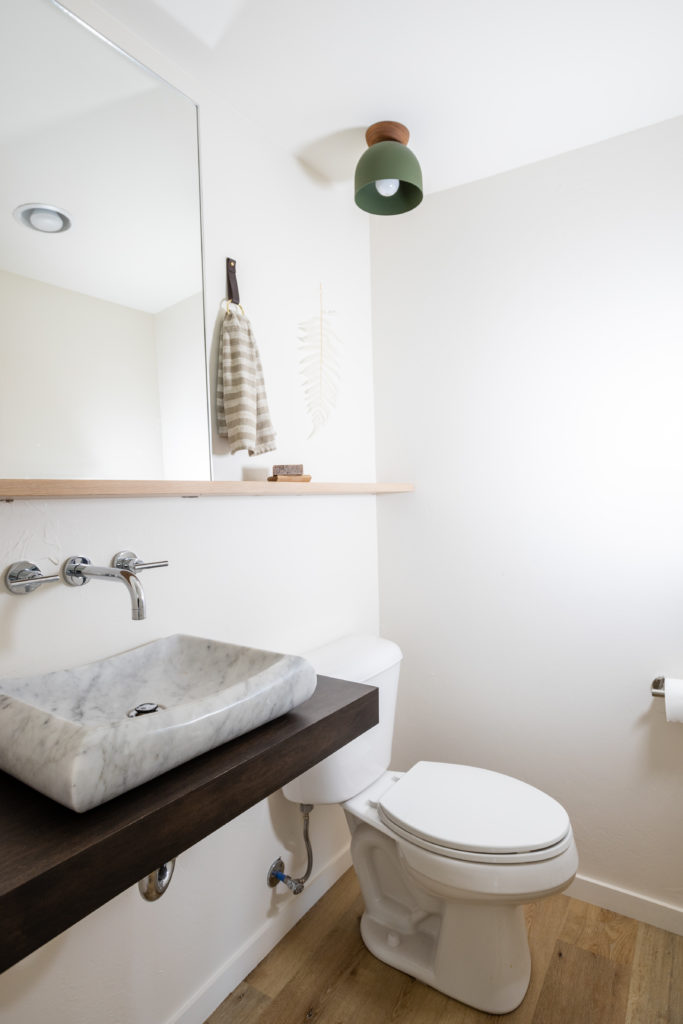
Last but not least, we have the half bath. This half bath use to function as a built in closet unit. We decided to just remove everything in it and create a bathroom for our guests to use because if I am being honest, who knows what the kid’s bathroom actauly looks like 🙂
I went with an asymmetric design for this bathroom. Because it is tight and small I put in a really large mirror to help extend the space. The mirror rests on an oak wood shelf that extends across the whole wall and is located above the marble vessel sink. To really make the sink pop and to create contrast we set it on top of a dark chocolate wood. To tie in with the rest of the home we went with chrome faucets in this bathroom as well. As we were trying to keep the color scheme going through out the house I went with a green ceramic light for bathroom that matches the green in our mudroom. This choice in light also helped the asymmetric look going in this bathroom.
Product Links
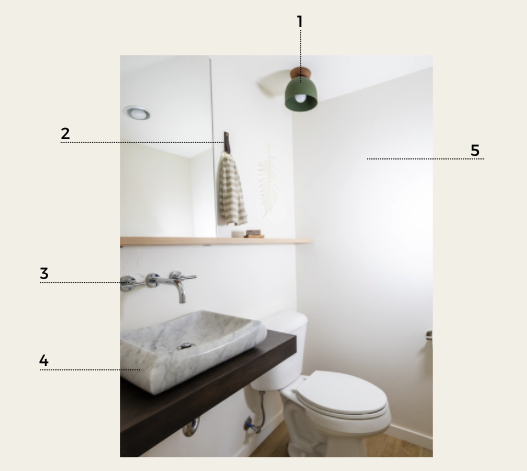
1.Light 2. Towel Hook 3. Faucet
4. Sink (discontinued- similar item) 5. Wall Color: Off White PPG 1024-1
I hope you enjoyed Part 3 of Tucked in Cottage on Bunker Hill! Don’t forget to subscribe to our mailing list and follow us on Instagram, Pinterest and Facebook to see our most recent project updates:)